03Photoshop in Practice: Retouching and Compositing
04Illustrator: Paths, Shapes, and Type
05Typography, Layout, and Delivery
06Logo Systems and Client Handoff
07Production Reality: Colour, Preflight, and Speed
08Advanced Photoshop: Channels, Luminosity, and Colour Grading
09Production at Volume: Templates, Actions, and Data
10Vector for Screen: Icons, SVG, and Developer Handoff
11Dimensional Work: Dielines, Packaging, and Large Format
12Brand Systems at Scale: Governance, Drift, and Rebrand
Final exam
Certificate
48 topics · ~11h
Accredited Curriculum & Certification
Official Syllabus Snapshot
Direct Answer: Learn Photoshop and Illustrator the way working designers use them — non-destructively, in the right colour space, and exported so the printer and the browser both get exactly what you intended.
Tuition Fee
100% Free
Duration & Workload
~11 Hours
Curriculum Depth
12 Chapters · 48 Lessons
Credential Awarded
Verified Certificate
12Chapters
Course outline
What you are actually editing, how big it needs to be, and why the screen and the press disagree about colour.
Raster and Vector: What You Are Actually Editing12 min
Resolution, Document Setup, and the 300 DPI Myth13 min
RGB, CMYK, and Colour That Survives the Printer14 min
Choosing Colour: HSB, Harmony, and Contrast You Can Prove13 min
Layers, masks, adjustment layers and smart objects — the four things that let you change your mind on day nine.
Layers, Blend Modes, and Fill vs Opacity13 min
Selections and Masks: Never Press Delete14 min
Adjustment Layers and Smart Objects14 min
Layer Styles and Shape Layers: Vector Inside Photoshop13 min
Cleaning up an image without destroying it, making two photographs belong together, and finishing at the right size.
Retouching: Healing, Cloning, and Dodge and Burn14 min
Compositing: Making Two Photographs Belong Together14 min
Camera Raw, Resizing, and Sharpening in the Right Order12 min
Cropping, Straightening, and Fixing Converging Verticals13 min
Drawing with anchor points, building marks from primitives, and setting type that survives handoff.
Anchor Points, Handles, and the Pen Tool15 min
Shapes, Pathfinder, and Building a Mark13 min
Type in Illustrator: Point Type, Paths, and Outlines13 min
The Appearance Panel: Stacked Fills, Effects, and Graphic Styles14 min
Setting type that reads, arranging a page that guides the eye, and exporting files the browser and the press both accept.
Typography Fundamentals14 min
Composition, Grids, and Layout14 min
Exporting Correctly: Web Versus Print13 min
Accessible Contrast and Legible Type13 min
Running an identity job end to end — construction, the family of variants, and the folder you actually hand over.
From Brief to Mark: How an Identity Job Runs14 min
The Logo System: Lockups, Clear Space, and Minimum Size13 min
Packaging the Handoff: Formats, Naming, and Mockups13 min
Scope, Rounds, and Rights: The Paperwork Around the Mark13 min
Why the same file looks different on three machines, how to diagnose a job that printed wrong, and how to keep heavy documents fast and recoverable.
Colour Management: Profiles, Assign versus Convert, and Proofs That Match14 min
Preflight Forensics: Diagnosing a File That Printed Wrong14 min
Speed, Versioning, and Getting Your Work Back13 min
Stock, Finishes, and Talking to Your Printer13 min
The raster techniques that separate a clean edit from a convincing one, working through channels, luminosity and grade rather than on the pixels themselves.
Channels as Masks: Cutting Hair, Glass, and Smoke13 min
Frequency Separation and Commercial Skin Retouching13 min
Luminosity Masks and Grading a Set to a Single Look13 min
Generative Fill and AI Retouching: What It Fixes and What It Breaks13 min
Producing four hundred assets without doing the same job four hundred times, using templates, actions and data instead of patience.
Linked Smart Objects and Templates That Update Everywhere13 min
Actions, Droplets, and the Image Processor13 min
Data-Driven Graphics: Variables, CSV, and Five Hundred Versions13 min
Artboards and Export Pipelines: Shipping Every Size at Once13 min
Making vector artwork that a browser renders crisply and an engineer can drop straight into a build without redrawing a single path.
The Pixel Grid: Icons That Stay Crisp at 16 Pixels13 min
SVG Anatomy: What Illustrator Writes and What to Strip13 min
Icon Systems: Grid, Weight, and Consistency Across a Set13 min
Handing Vector to Engineers: Specs, Tokens, and Motion-Ready Files13 min
Artwork that has to fold, wrap or be read from thirty metres away, where the geometry matters as much as the design does.
Reading and Building a Dieline: Cut, Crease, and Bleed in Three Dimensions13 min
Packaging Artwork: Panel Hierarchy, Barcodes, and Mandatory Information13 min
Large Format: Viewing Distance, Scale Factors, and Tiled Panels13 min
Signage and Wraps: Substrates, Seams, and Install-Ready Files13 min
Keeping one identity coherent across many hands, many channels and several years, then moving it cleanly when it finally has to change.
From Guidelines Document to a Living Brand System13 min
Many Hands: Source Files, Reviews, and Art Direction13 min
Auditing Drift: Finding Where the Brand Quietly Broke13 min
Rebrand Rollout: Sequencing, Legacy Assets, and the Cutover13 min
Final exam & certificate
01
Topic checks
Each one opens the next topic
02
Chapter quizzes
Each one opens the next chapter
03
50-question final
50 of 100 marks to pass
04
Certificate
Issued instantly, verifiable
One attempt, 60 minutes. If you don't pass, you can retake once after 30 days.
The course guide
How to learn graphic design for free: an 8 week plan
16 October 2026 · 10 min read
You can learn graphic design for free by doing three things in order: learn the handful of technical rules that every printer and browser enforces, learn the two main tools well enough to work without destroying your own files, and then make real pieces until your eye catches up with your hands. The hard part is knowing why a logo needs to be a vector, why a poster looked fine on screen and muddy on paper, and why a client cannot open the file you sent.
This guide gives you a realistic 8 week roadmap, the practice projects that actually build skill, the mistakes that cost beginners their first jobs, and an honest look at our free Graphic Designing (Photoshop + Illustrator) course, chapter by chapter.
What graphic design actually involves
Beyond taste, a working designer makes four technical decisions on every job:
Raster or vector. A photo is a grid of pixels and cannot be enlarged without blurring. A logo is a set of paths and can be drawn at any size.
Resolution and size. A file has to be big enough for where it ends up. A social post, a business card and a shop sign all need different numbers.
Colour mode. Screens mix light in RGB. Printing presses lay down ink in CMYK. A bright screen blue often has no ink equivalent, and if you do not plan for that, the client sees a dull blue on the printed flyer and blames you.
Delivery. The right file format, bleed for anything that gets trimmed, fonts that travel with the file.
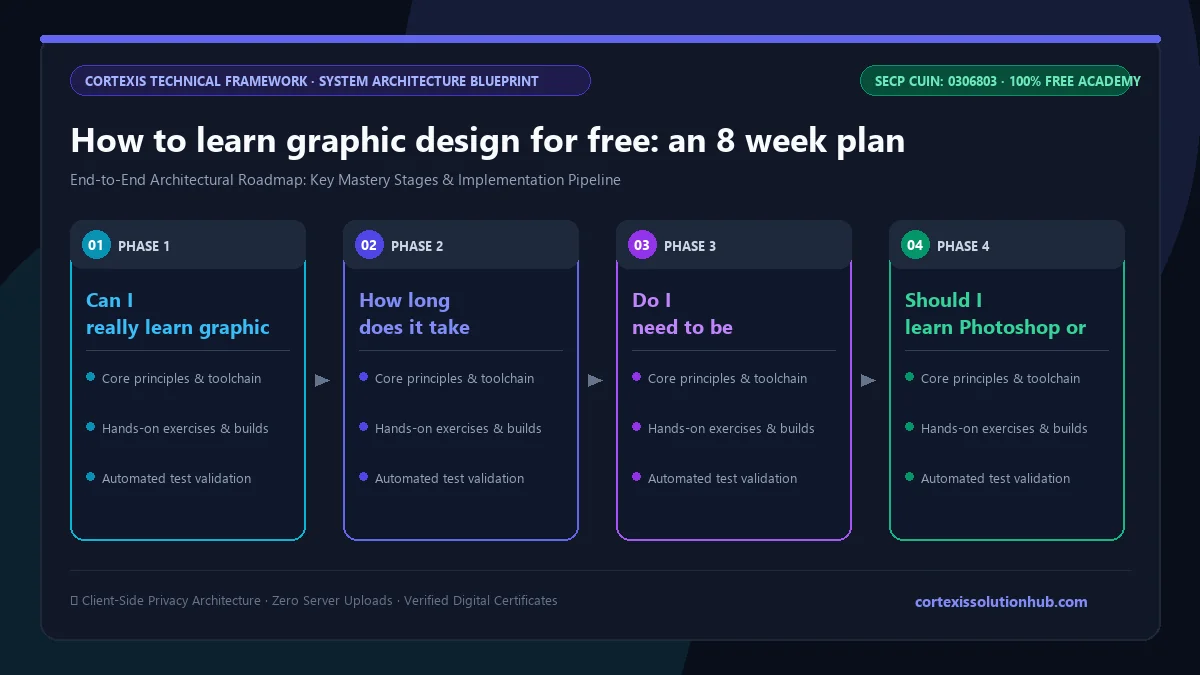
Figure 1: Complete step-by-step architectural workflow and technical execution stages for How to learn graphic design for free: an 8 week plan.
Photoshop or Illustrator: which one to learn first
You need both, but they do different jobs, and knowing which to open is a skill in itself.
Job
Tool
Why
Photo retouching, composites, social posts with photos
Photoshop
Photographs are made of pixels
Logos, icons, wordmarks
Illustrator
Must scale from a favicon to a billboard
Signage, vinyl cutting, embroidery, screen print
Illustrator
Machines follow paths, not pixels
Posters and flyers mixing photos and type
Either, often both
Photos built in Photoshop, placed into a vector layout
If you have to pick one to start, start with Photoshop. Layers and masks teach you to work non destructively, and that habit carries straight into Illustrator.
A note on cost. Photoshop and Illustrator are paid software, and Adobe offers a free trial. If you cannot pay yet, you can still practise the same concepts in free tools such as GIMP or Photopea for raster work and Inkscape for vector work. The principles carry over, though many clients and studios will expect Adobe files eventually.
An 8 week roadmap to learn graphic design for free
Plan on about an hour a day, five or six days a week.
Week
Focus
What you make
1
Raster vs vector, resolution, RGB vs CMYK
Set up three documents correctly: a social post, an A5 flyer with bleed, a logo artboard
Rebuild a product photo on a new background without ever pressing Delete
3
Retouching and compositing
Clean up a portrait, then combine two photos so the light matches
4
Illustrator pen tool, Pathfinder, type
Trace five everyday objects as clean vector icons
5
Typography, grids, layout, exporting
A poster that reads at a glance, exported once for web and once for print
6
Logo systems and handoff
A small identity: mark, wordmark, lockups and an organised delivery folder
7
Colour management and preflight
Check your week 5 poster as if a printer were about to reject it
8
Speed and volume
A template that produces twenty social posts from one master file
Finish every piece, even the ugly ones, and keep them all. By week 8 you will be embarrassed by week 2, which is the proof you improved.
Practice projects that build a portfolio
Copying tutorials teaches buttons. Briefs teach design. Write yourself a short brief for each project: who it is for, where it will appear, and what one thing the viewer should do.
A menu for a local dhaba or cafe. Lots of text, prices, and it must print.
A logo for a friend's small business. Draw it in Illustrator from simple shapes, test it in one colour, and test it at a tiny size.
A set of five social posts for one brand. Same grid, same type, different content. Consistency is the skill clients pay for.
A redesign of a bad poster you have seen. Fix the hierarchy and explain in two sentences what you changed.
Three or four finished pieces beat twenty half done ones. If you plan to sell your work online, our freelancing on Upwork and Fiverr course covers profiles, proposals and pricing.
Mistakes that cost beginners real jobs
Building a logo in Photoshop. It looks fine on screen and falls apart the moment the client wants a sign or a printed banner.
Designing in RGB, then sending it to print. Colours shift, and nobody notices until the job is already printed.
No bleed. Anything that is trimmed needs artwork that extends past the cut, usually a few millimetres. Without it you get thin white slivers at the edges.
Erasing instead of masking. Once pixels are deleted you cannot get them back on day nine when the client changes their mind.
Sending live fonts. The client opens the file on a machine without your font and the text reflows into something else.
What the free course covers, chapter by chapter
The Graphic Designing (Photoshop + Illustrator) course is a beginner course designed to take around 8 weeks. It has 12 chapters with four lessons each, and every lesson is a short read of roughly 12 to 15 minutes with worked examples. Each chapter ends with a delivery skill: correct resolution, correct colour mode, correct file, correct bleed.
Chapter
What you learn
1. Pixels, Vectors, and Colour
Raster vs vector, resolution and the 300 DPI myth, RGB and CMYK, choosing colour with HSB and contrast
Healing and cloning, dodge and burn, compositing two photos, Camera Raw, resizing, sharpening, fixing converging verticals
4. Illustrator: Paths, Shapes, and Type
The pen tool, Pathfinder and building a mark from shapes, type on a path, the Appearance panel
5. Typography, Layout, and Delivery
Type fundamentals, grids and composition, exporting for web vs print, accessible contrast
6. Logo Systems and Client Handoff
Running an identity job, lockups and clear space, packaging files, scope, revision rounds and rights
7. Production Reality
Colour profiles, preflight, diagnosing a file that printed wrong, speed and versioning, talking to your printer
8. Advanced Photoshop
Channel masks for hair and glass, frequency separation, luminosity masks, what Generative Fill fixes and breaks
9. Production at Volume
Linked smart objects, actions and droplets, data driven graphics from a CSV, artboard export pipelines
10. Vector for Screen
Icons that stay crisp at 16 pixels, clean SVG, icon systems, handing files to developers
11. Dimensional Work
Dielines, packaging artwork and barcodes, large format, signage and vehicle wraps
12. Brand Systems at Scale
Living brand guidelines, working with many hands, auditing drift, rolling out a rebrand
Chapters 1 to 6 are the core most beginners need to start taking small jobs. Chapters 7 to 12 are what separate someone who can use the tools from someone a studio trusts with production.
Who this course is for, and who it is not for
It suits students, career switchers, small business owners making their own marketing material, and freelancers who keep running into printing and file problems. You do not need drawing talent. Many strong logos are built from simple geometric shapes rather than sketched freehand, and the course teaches exactly that method.
It is not a course in illustration or digital painting, and it does not cover screen interface design in depth. If apps and websites are your goal, look at the UI/UX design bootcamp after this one. If you want to use your design skills to grow a brand online, social media marketing pairs well.
How the quizzes and free certificate work
Each topic has a minimum reading time of 90 seconds before its quiz opens, and you need 70 percent on that quiz to unlock the next topic. Each chapter also ends with a quiz you must pass at 70 percent to open the next chapter.
The certificate comes from the final exam: 50 questions, 60 minutes, one timed attempt, and you pass with 50 out of 100 marks. If you do not pass, a retake opens 30 days later with the questions and options reshuffled. Pass, and you get a free certificate with a verification code and a QR code anyone can check.
Be honest about what it proves: a client looks at your portfolio first and the certificate second, if at all. We wrote more about this in are free online certificates worth anything.
Start this week
Open a blank document, set it up correctly for an A5 flyer with bleed, and save it. That small act is lesson one of real design work. Then start the free Graphic Designing (Photoshop + Illustrator) course and follow the 8 week plan above, one finished piece at a time.
Questions, answered
05 questions
Yes. The knowledge is free. Only the software may cost money, and free tools cover the same concepts until you are ready for Adobe.
The course is built for about 8 weeks at an hour a day, enough to start small real jobs. Getting genuinely good takes longer and comes from many finished pieces and honest feedback.
No. Most graphic design is layout, type, colour and assembling shapes. Drawing helps with illustration, but logos, posters and social posts are built with tools, grids and geometry.
Start with Photoshop for its layers and masks, then move to Illustrator for logos and anything that must scale. The course follows that order, after a first chapter on the foundations both tools share.
Yes. The lessons, quizzes, final exam and certificate are all free. You need an account to track your progress and sit the exam.